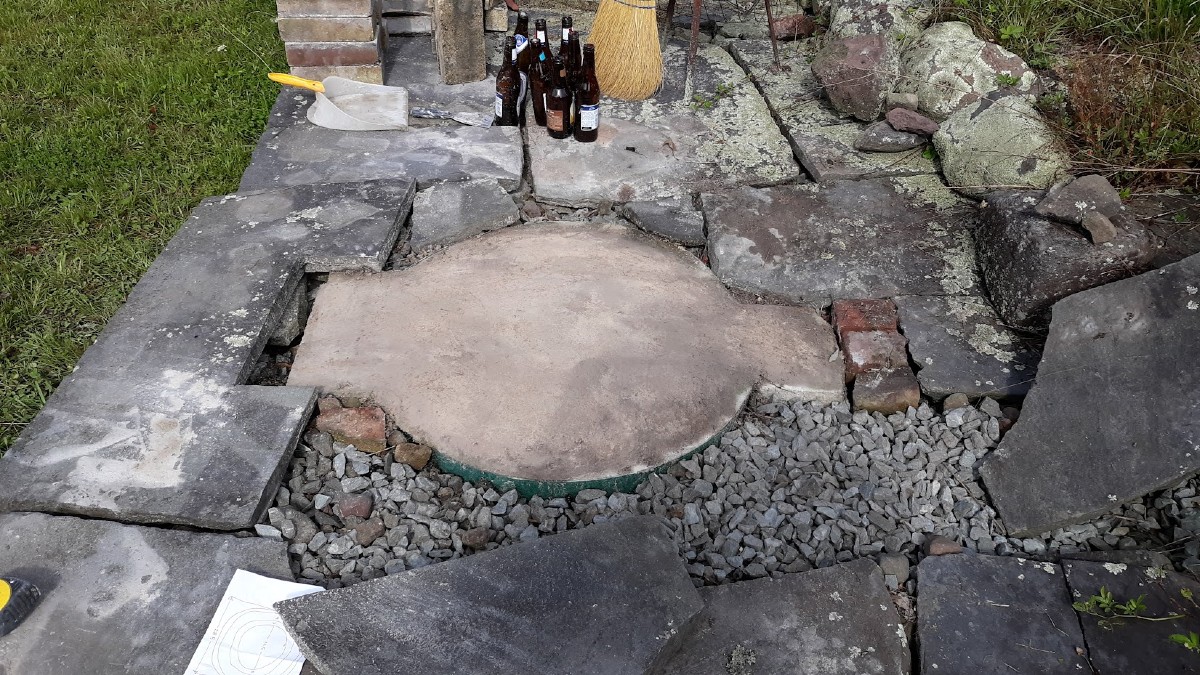
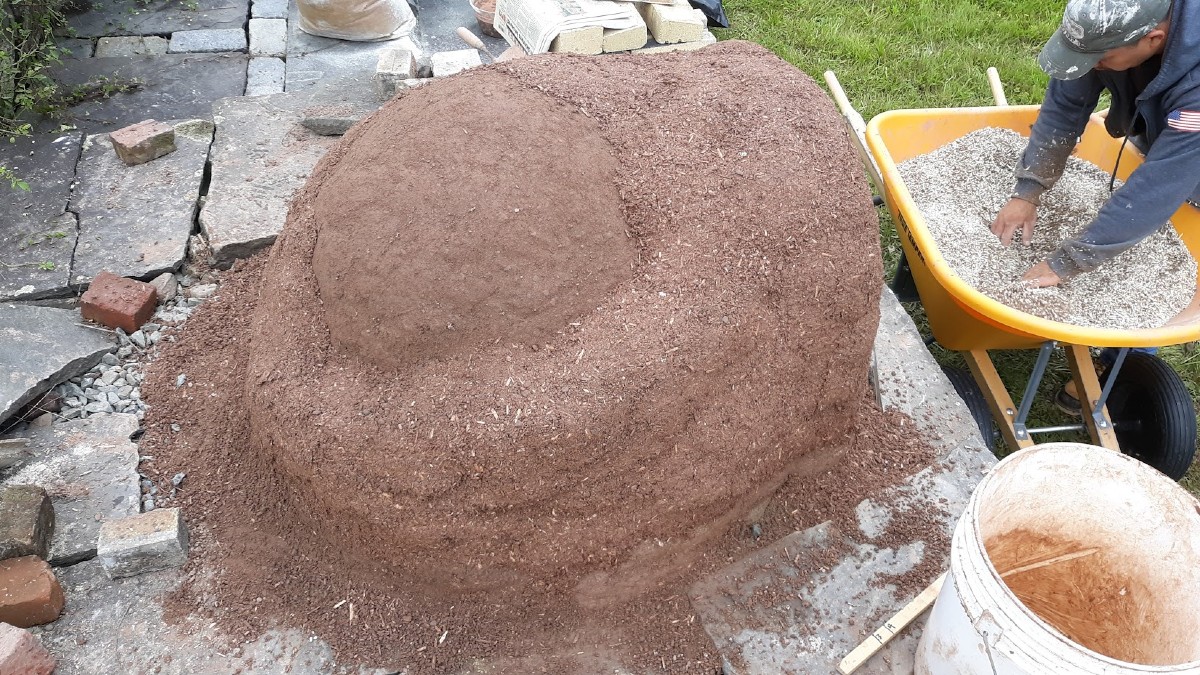
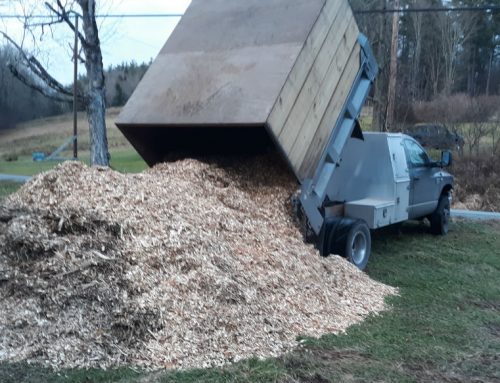
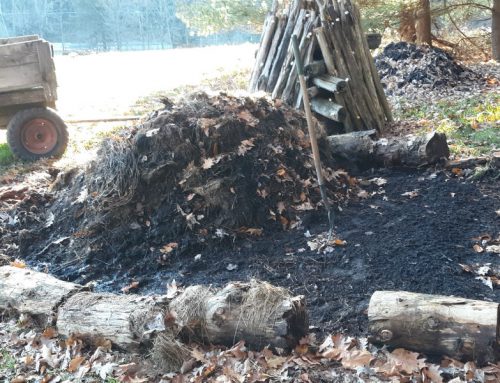
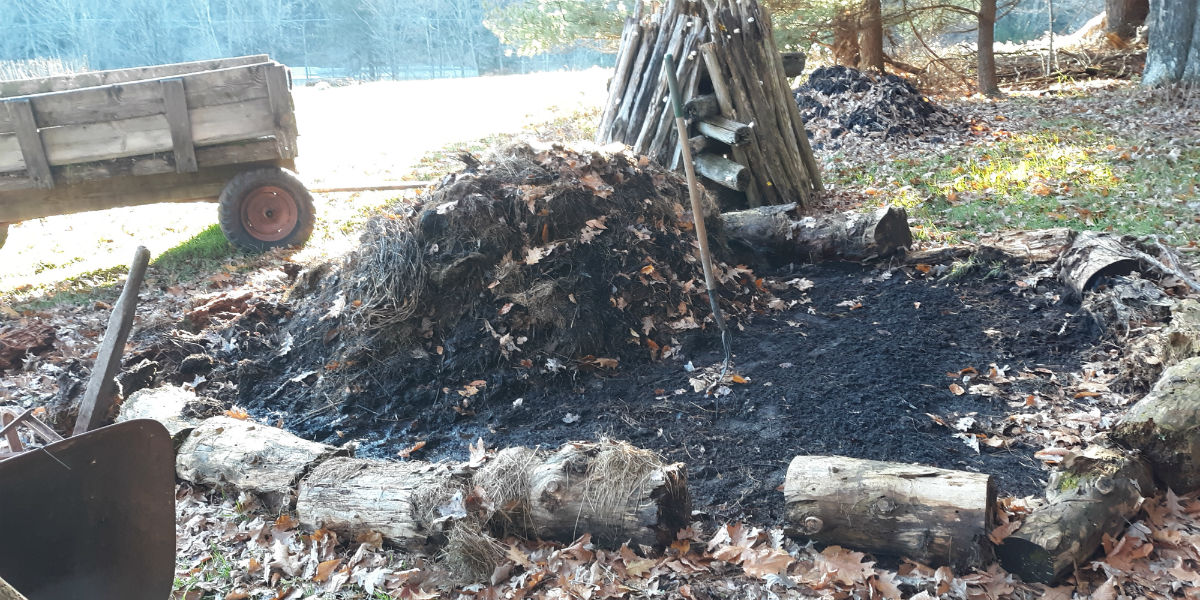
My clay-rich Pennsylvania subsoil provided the primary building material
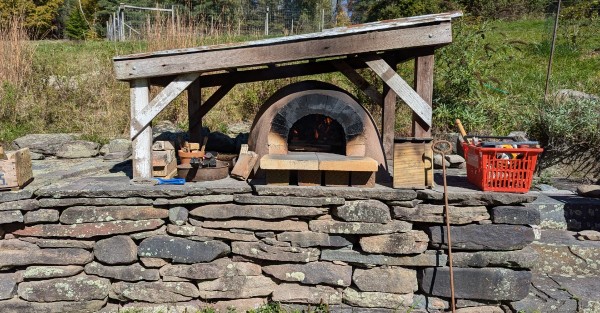
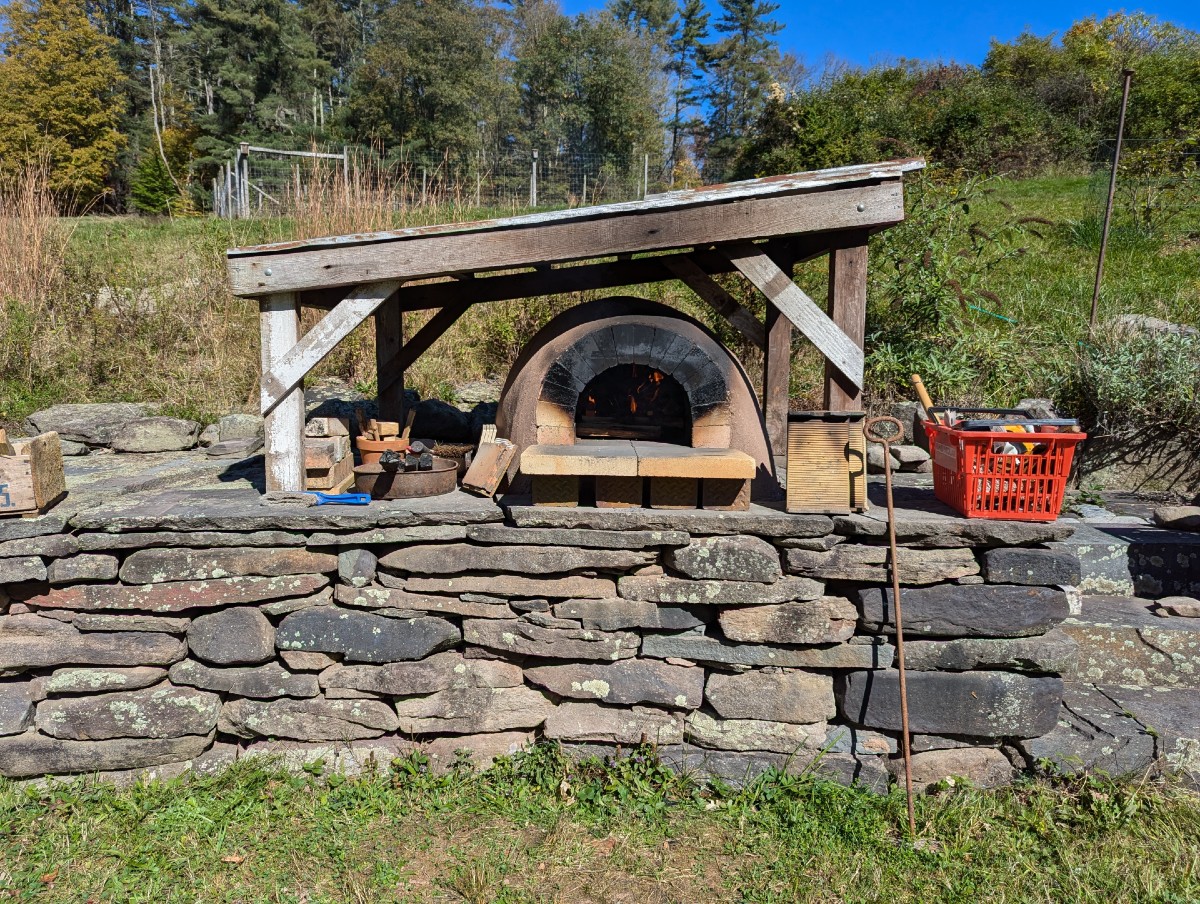
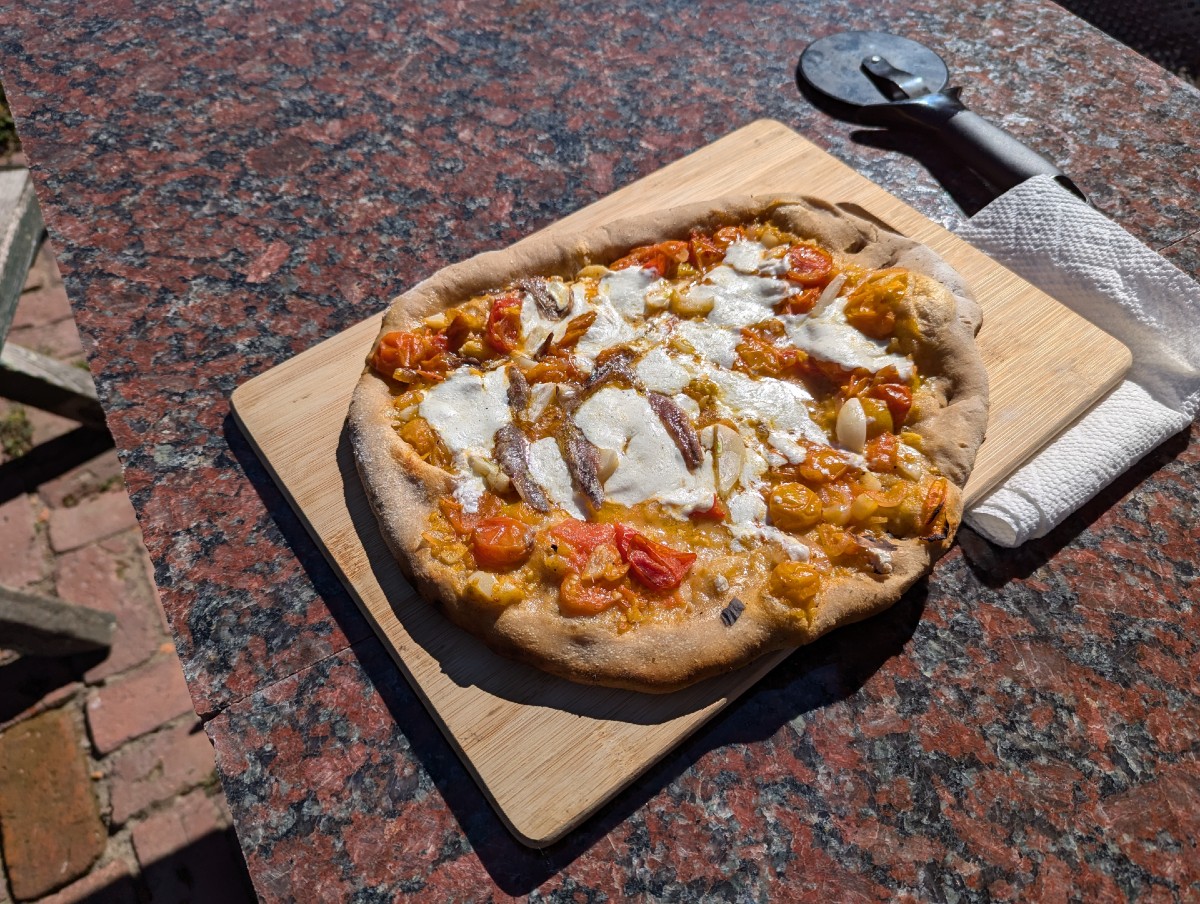
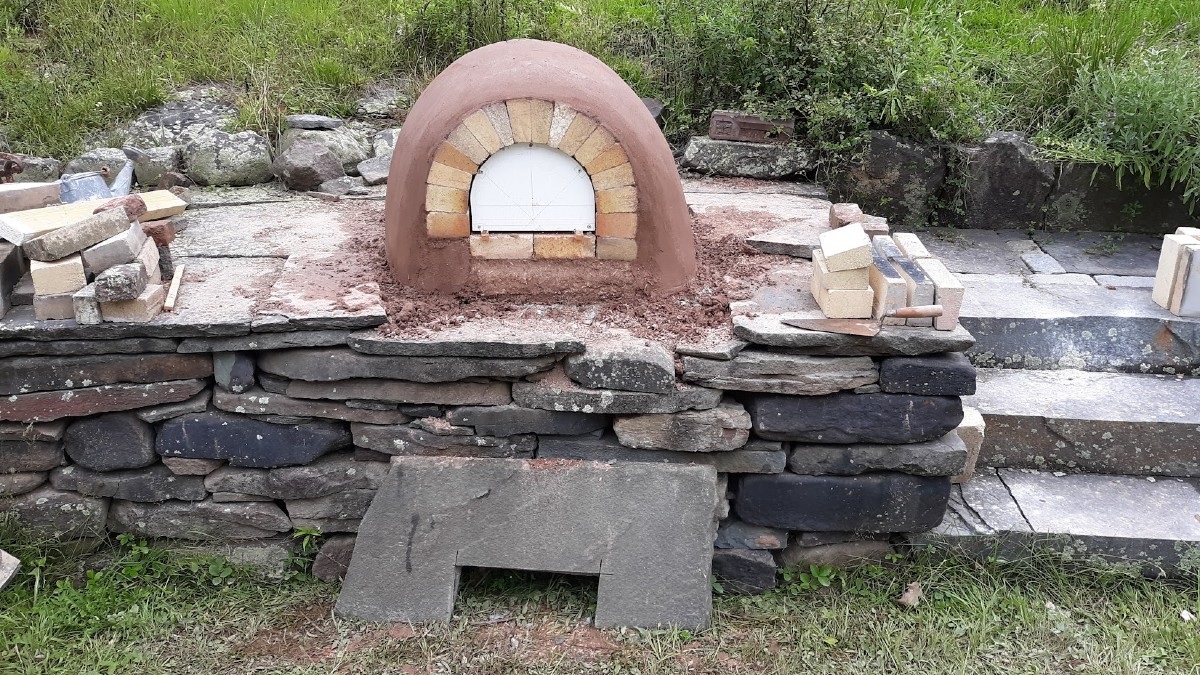
In Hoboken, my home for over 50 years, you only need to walk a few blocks to find a pizzeria, yet I rarely bought a slice, let alone a whole pie. I have a second home in rural Pennsylvania and a year ago, I built an earth oven behind my farmhouse. My homemade pizza baked in the wood-fired oven is something altogether different from your pizzeria pizza. The crust is thin and covered with a sauce made from homegrown tomatoes and fresh Hoboken mutz. The hardwood embers as well as the locally sourced bread flour impart an exceptional flavor.
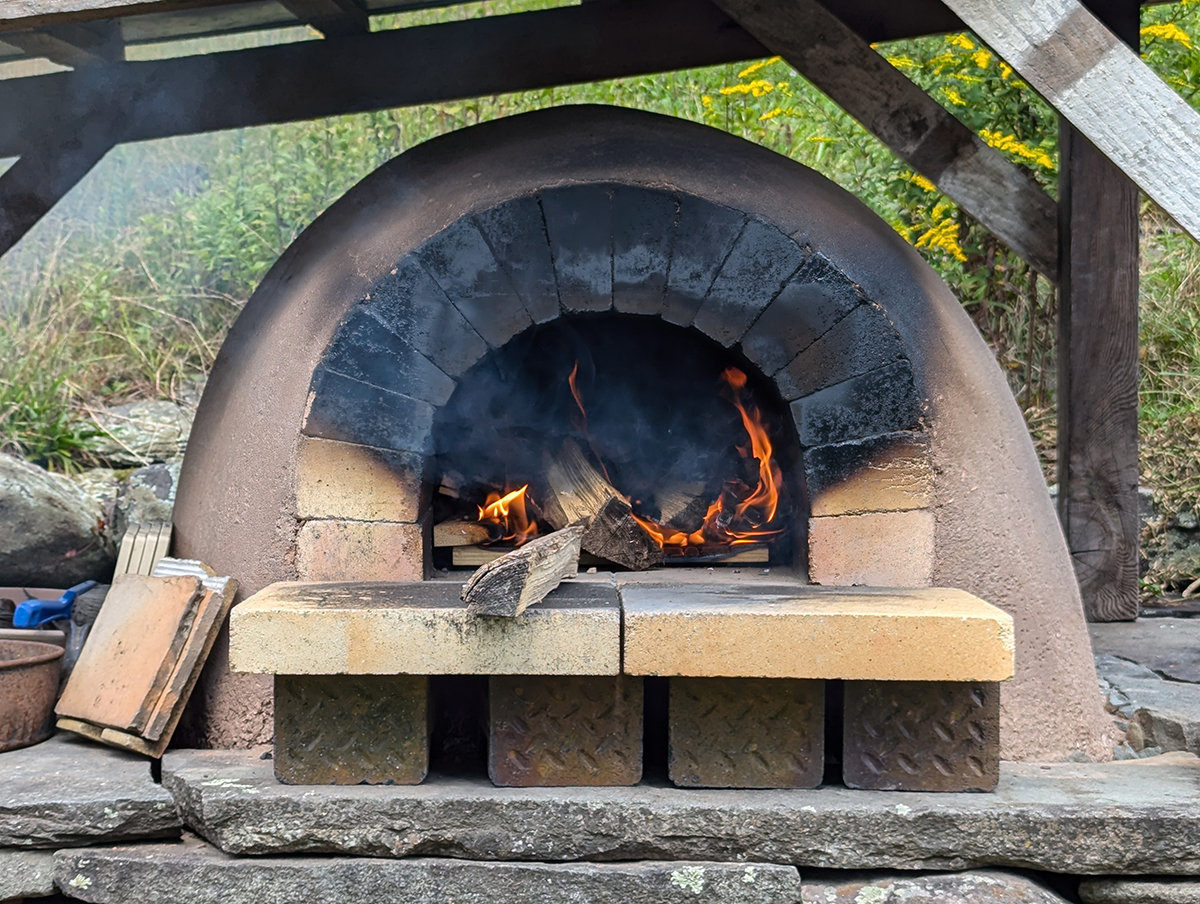
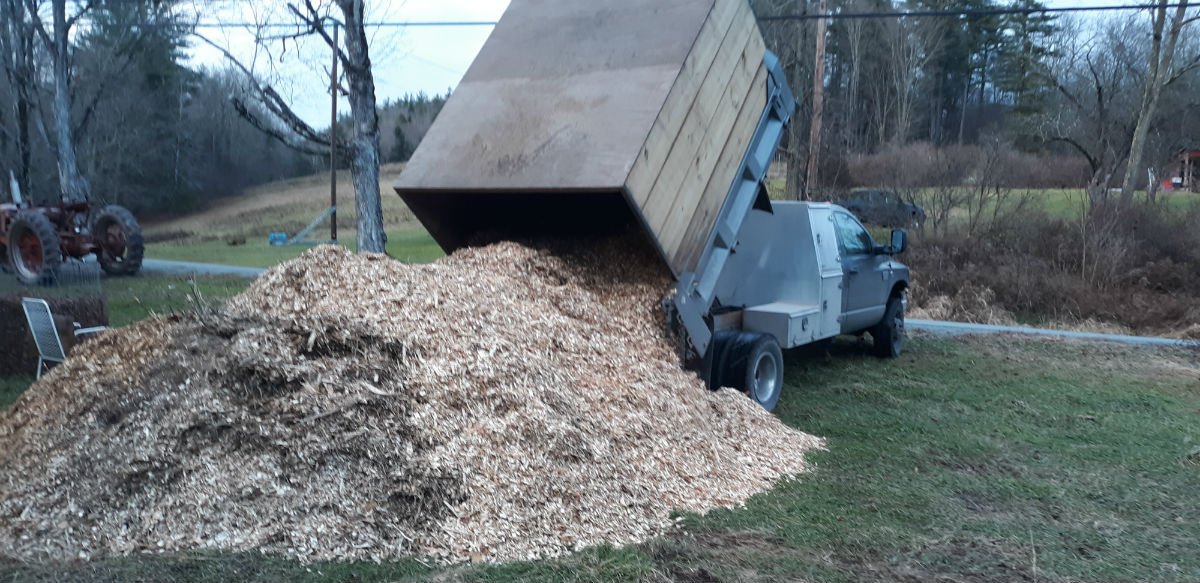
My 50-acre property is mostly woodlands, so there is no shortage of firewood. It takes about an hour for the oven chamber to absorb and hold the heat of the fire. After pushing the embers to the back and sides of the chamber, I wait for the floor temperature to drop to 750 degrees fahrenheit before sliding the pizza in. It only takes a few minutes for the high heat to cook the pizza and produce a crisp crust.
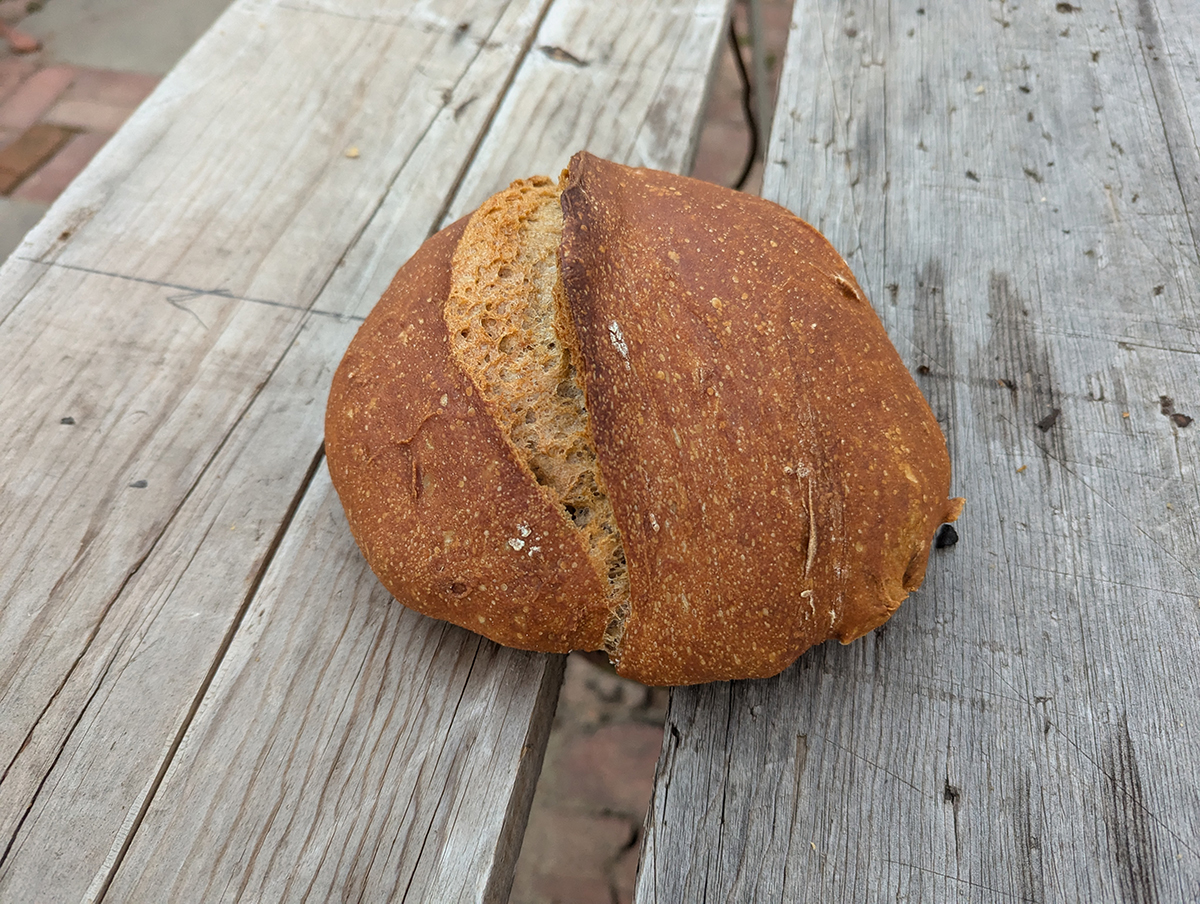
As the temperature continues to drop, other foods follow: 500 degrees for baking the bread, followed by roasted tomatoes, squash, beets or potatoes — all from the garden. Several hours later, a 200-degree oven is good for drying tomatoes or herbs. The entire cooking cycle can last five or more hours.
The oven produces three kinds of heat. There is radiant heat emanating from walls and floor of the inner chamber, conductive heat transferred from direct contact with the floor and convective heat, the hot air circulating around the chamber. These combined forces allow for even cooking, enhanced flavors and crispy bread and pizza crusts.
Repeated firings have improved my ability to effectively use this primitive oven and gain the skills necessary for making pizza and baking bread. Watching videos of The Wood Fired Oven Chef demonstrate the endless possibilities that lie ahead.
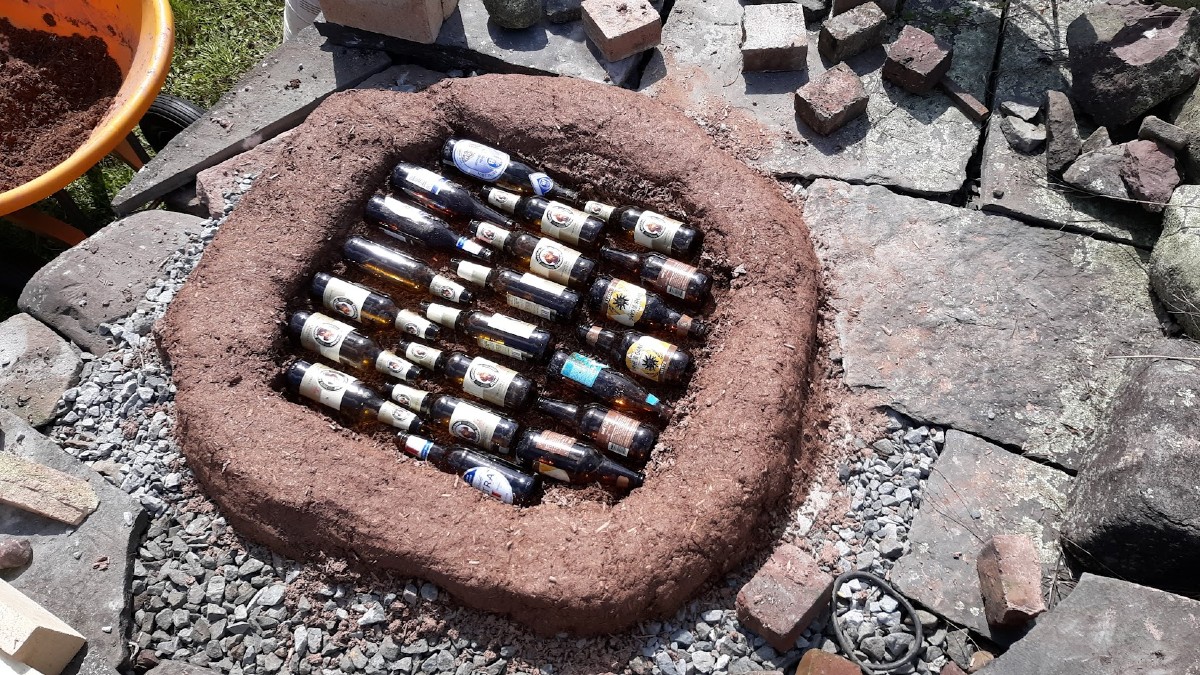
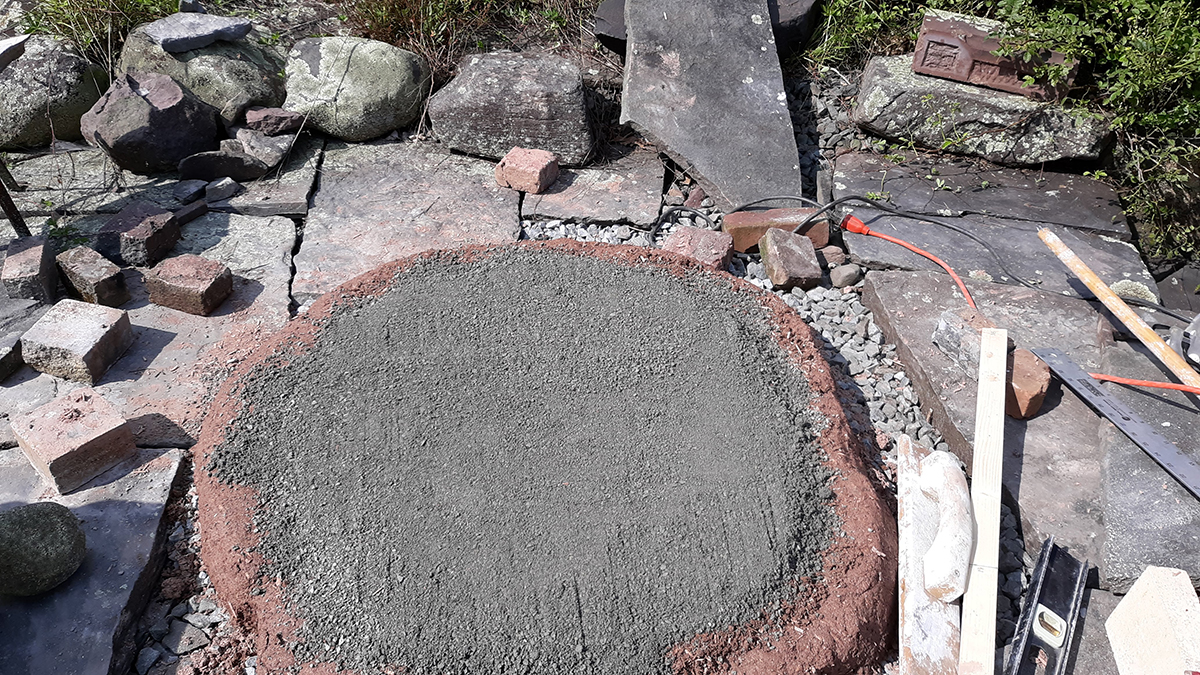
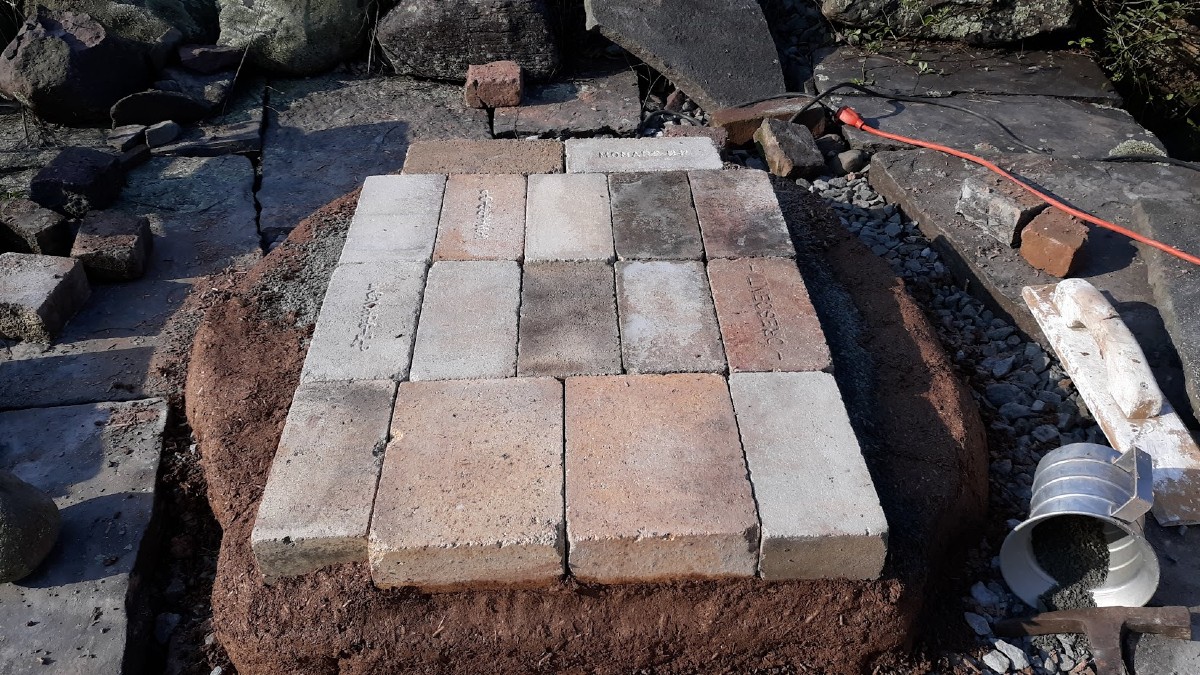
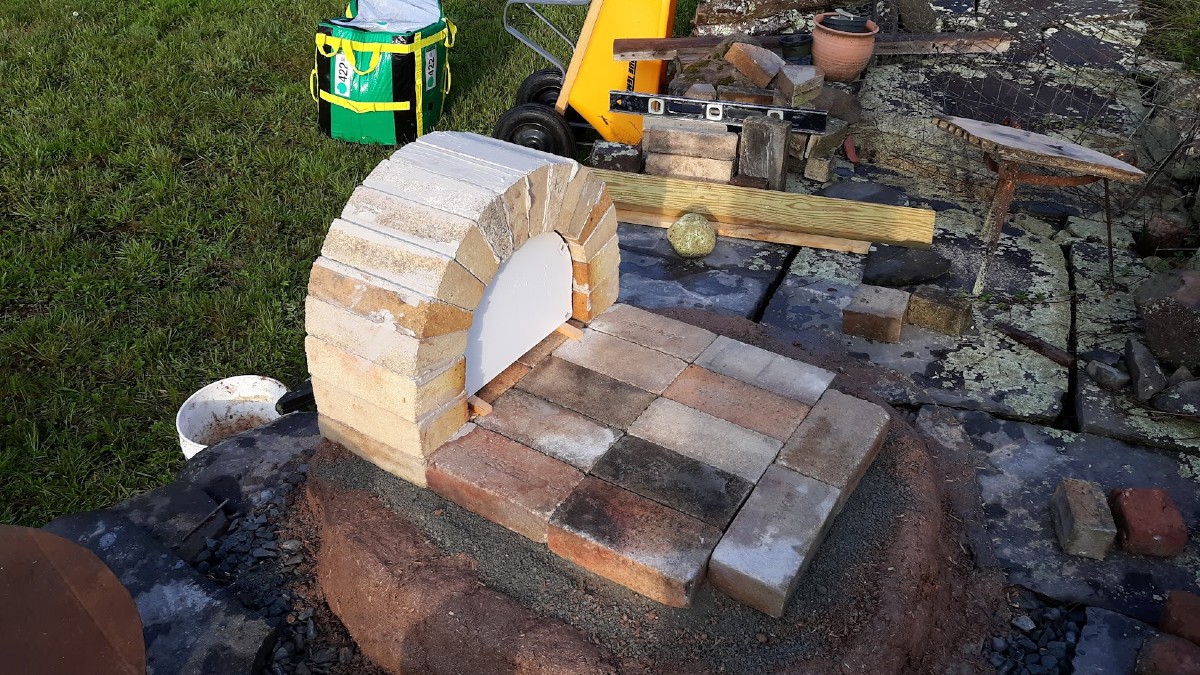
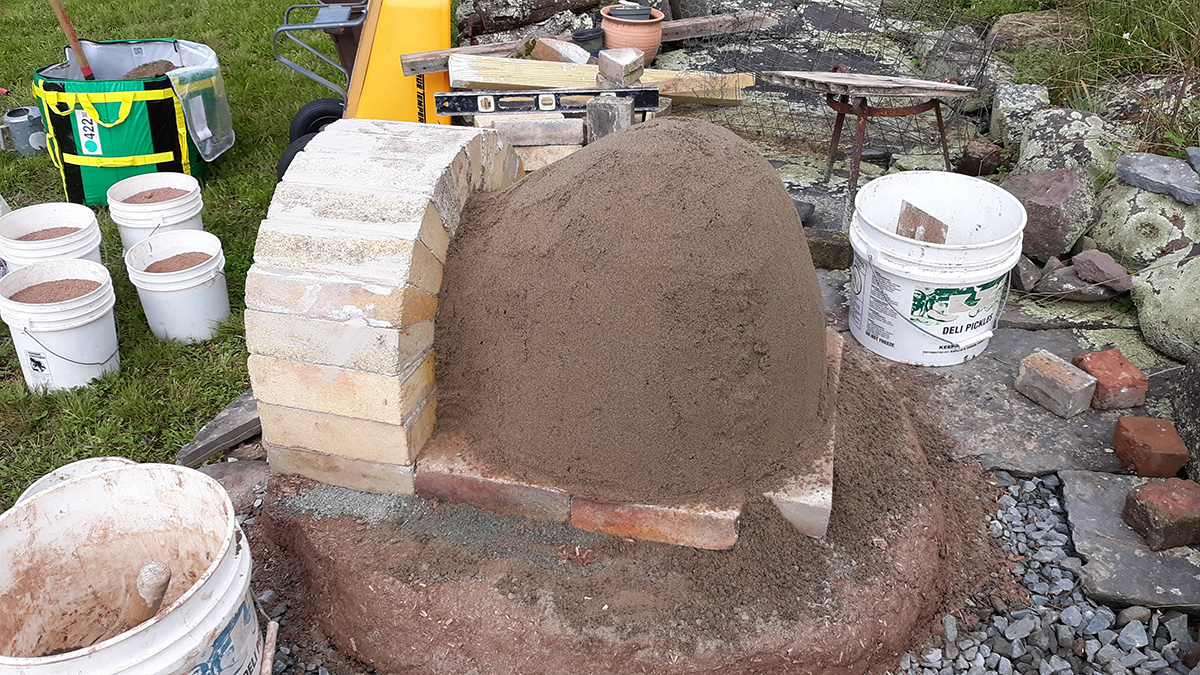
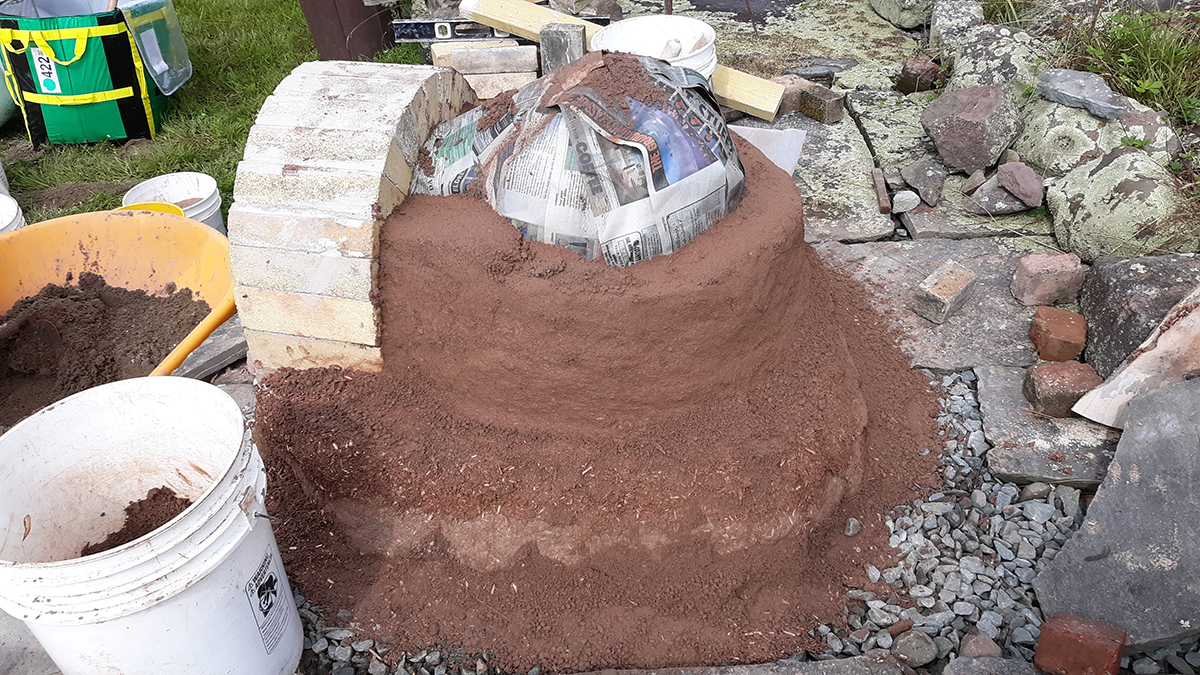
The primary building material for this dome-shaped oven was my subsoil which is full of red clay. Add sand & water and you get a mud mixture for the thermal layer, about 3 inches thick that, in addition to the firebrick floor, will absorb the heat of the fire. For the outer layer, about 4 inches thick, perlite or vermiculite is added to the screened earth to form the insulating layer to hold in the heat. The final layer is about a half inch of plaster made of screened clay and fine sand. This exterior coat produces a finished, smooth exterior.
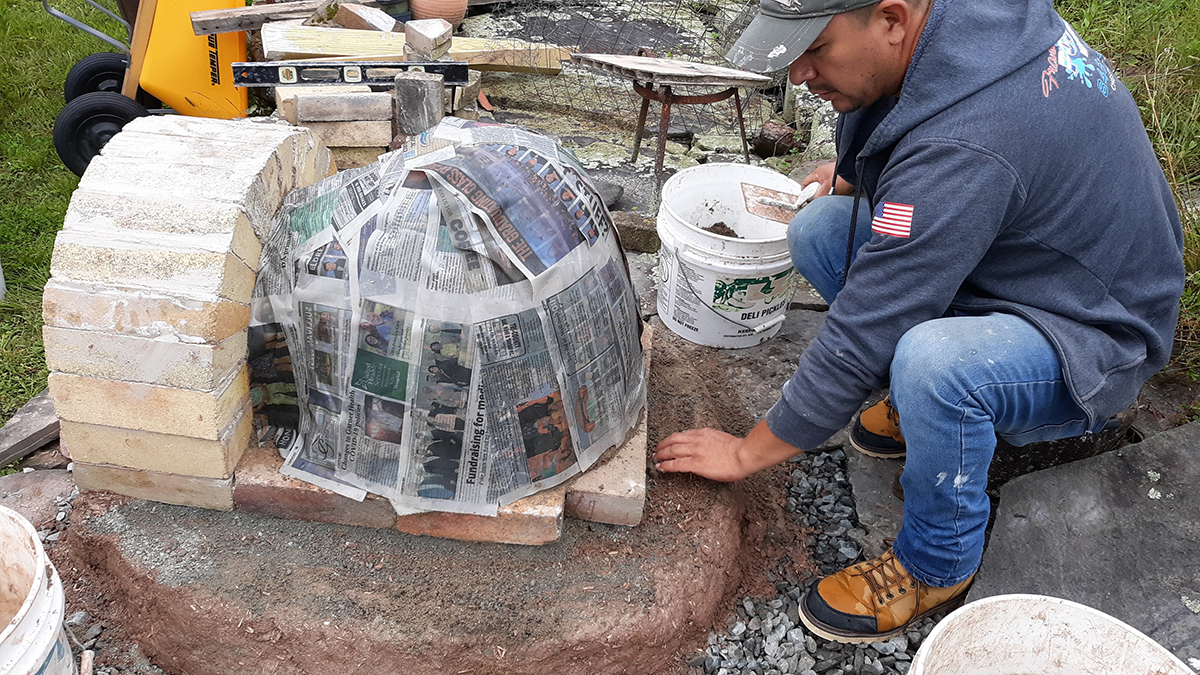
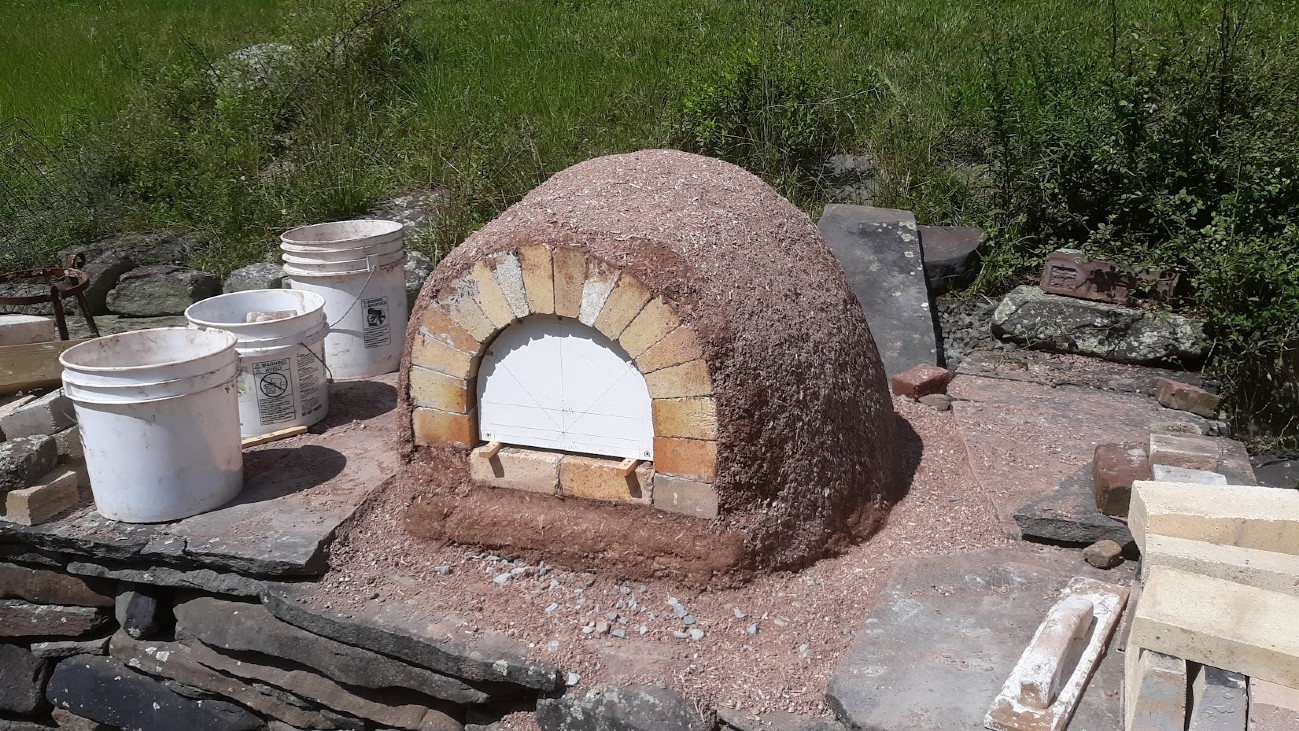
My first attempts at building an outdoor oven ended in failure. So last summer, when an earth oven workshop was held across the Delaware River in Callicoon, New York, I signed up. Subsequently, I read the classic book, Build Your Own Earth Oven by Kiko Denzer. After gathering the necessary materials, I began building my oven on a previously constructed concrete base.
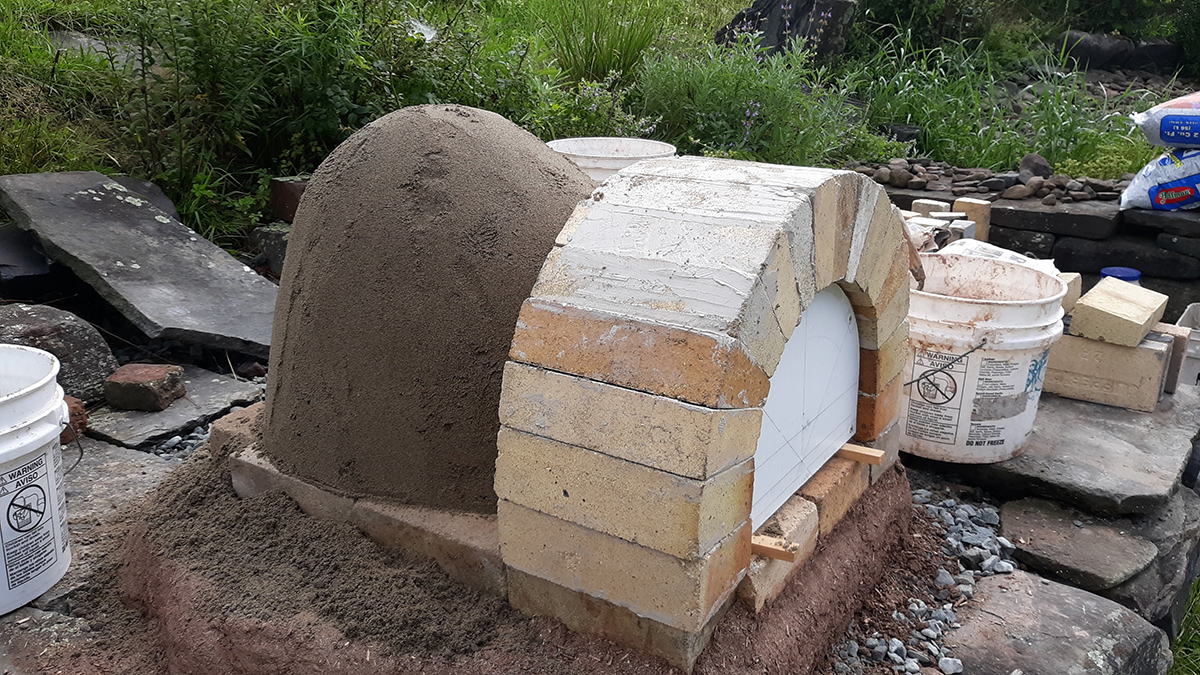
For a time, I was a potter and tilemaker, so I knew about working with clay and building kilns. I also had a supply of firebricks for the floor and the arched doorway. Since the base had been built several years earlier, building the earth oven was completed in just a day’s time.
Archaeologists have discovered earth ovens from prehistoric times. The earliest ovens were pits lined with heated stones. Today, there are cultures around the world using communal earth ovens for baking bread. The revival of these ovens today enables us to tap into ancient traditions of cooking and gain an appreciation for how good pizza should taste.